SDL Files
First, set up an empty project.
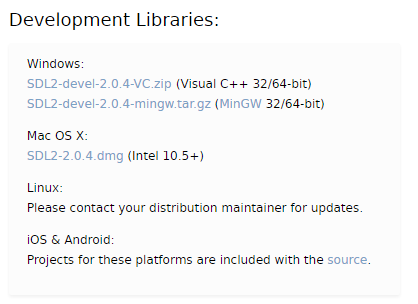
Then, download SDL. For Visual Studio, download the "VC" development library.
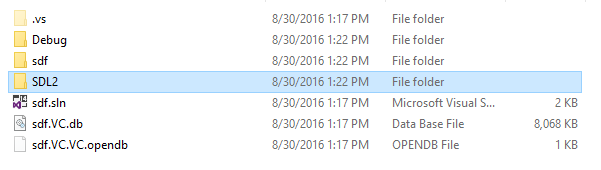
Extract the files and move the folder into your project.
Project Settings
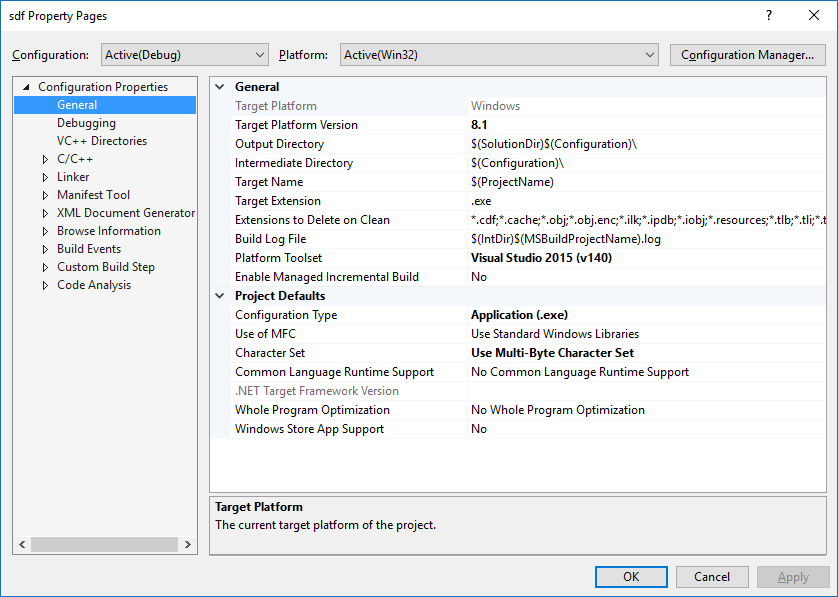
Open up your project and press ALT + F7 to open the properties window.
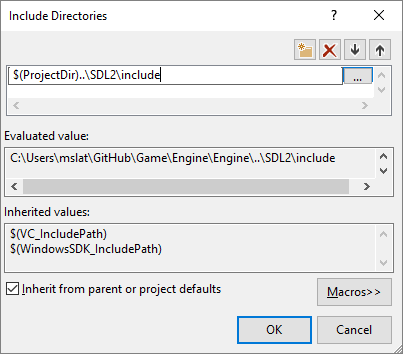
Go to VC++ directories, select include directories, and select edit.
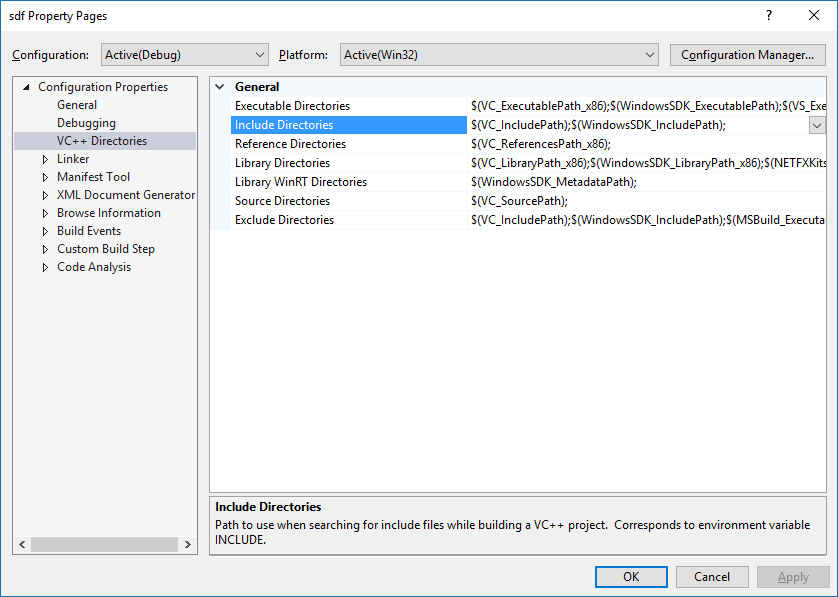
Add the path to the "include" folder in your SDL source folder. $(ProjectDir) is replaced with the path to your .vxproj file. Your path will likely differ from this example.
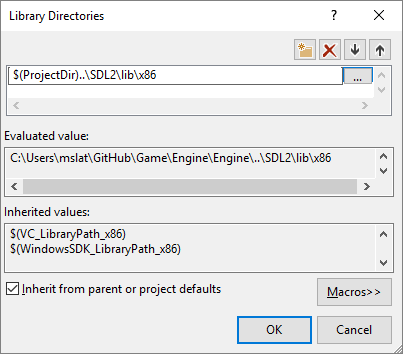
Hit OK, then do the same for library directories. Here, add lib/x86 from your SDL source folder.
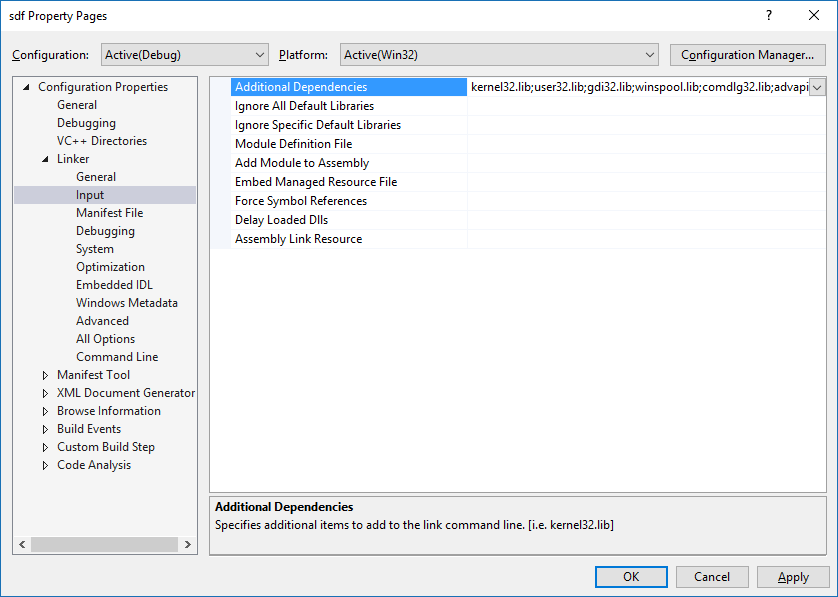
Next, expand the linker options and select input. Click on additional dependencies and select edit.
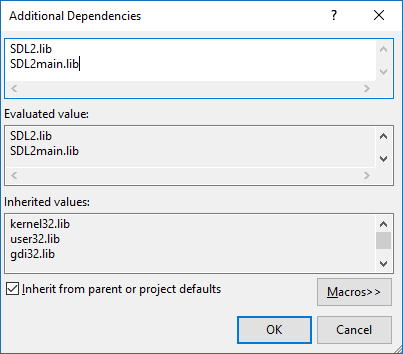
Add SDL2.lib and SDL2main.lib.
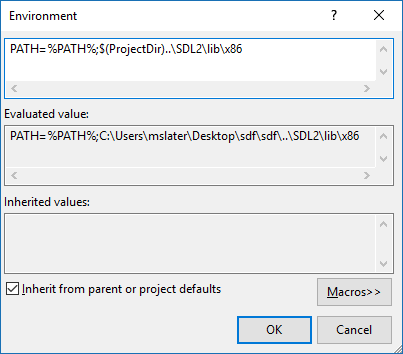
Next, go to debugging and edit environment.
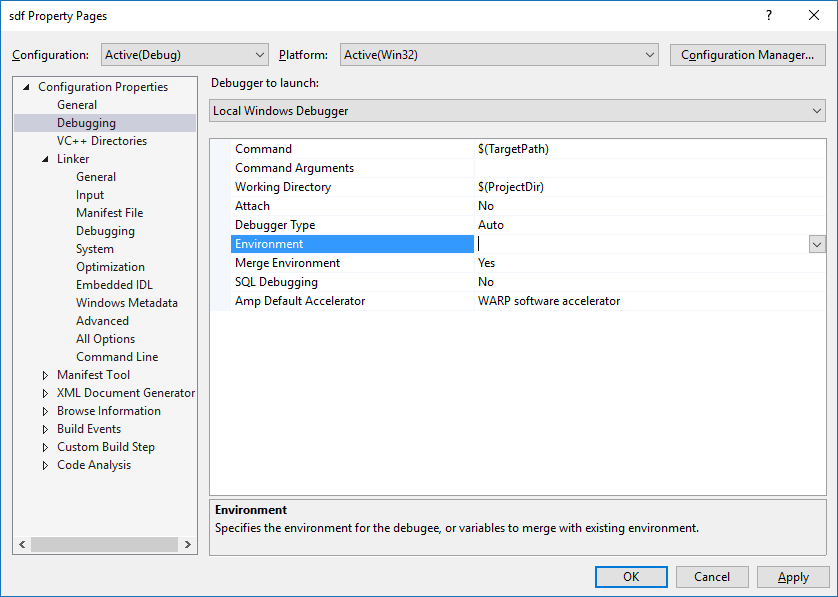
Add this command. Use the path to the lib/x86 folder in your SDL source folder. This allows your program to see the SDL libraries at runtime. To run the executable on its own, you must copy those libraries into the same directory.
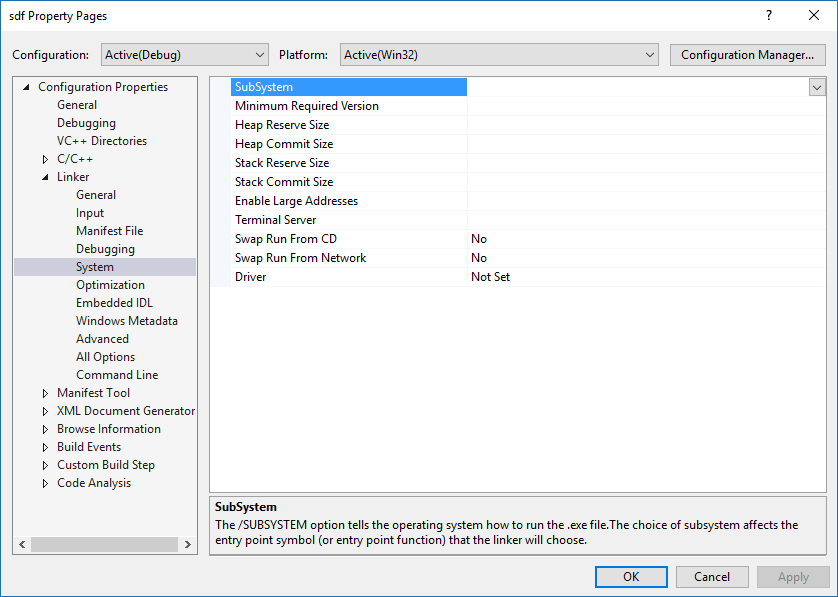
Finally, go to system under linker. Edit subsystem.
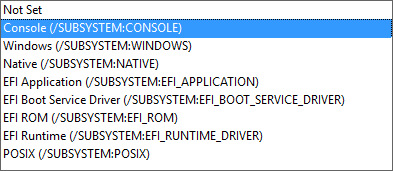
Select console.
You should now be done. To test, add a .cpp file with the example code for lesson 01.
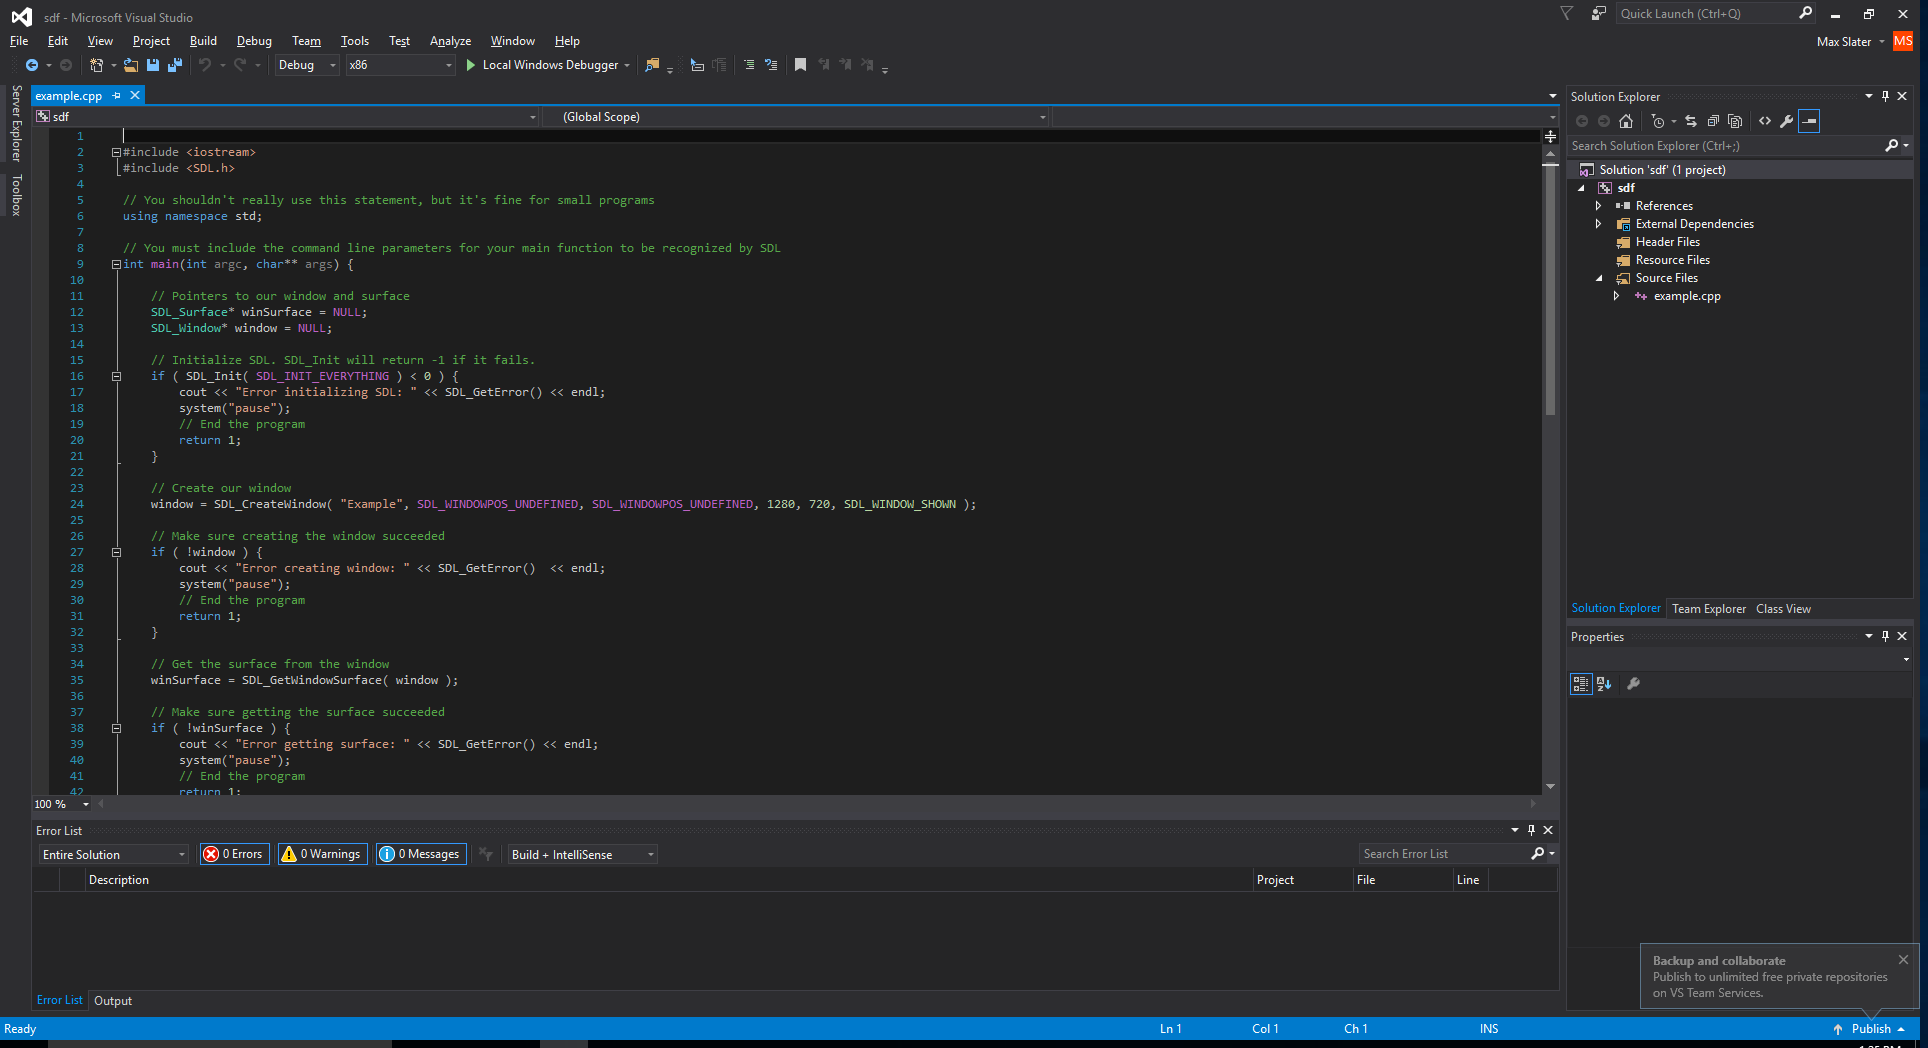
Try building and running the project.